


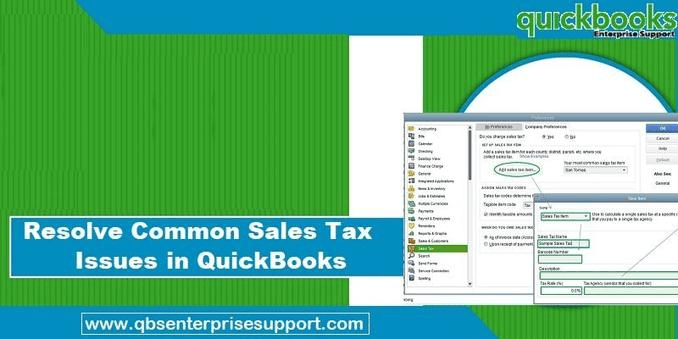
How to Fix Sales Tax Configuration Problems in QuickBooks Desktop?
During the process of filling tax returns or doing other tax-related tasks on QuickBooks Desktop, users may run into common Sales Tax Issues. This piece of writing shall be explaining different Sales Tax Issues in QuickBooks and measures to fix them. So, keep reading.
Common Sales Tax Issues and Solutions in QuickBooks Desktop
Error 1: Invoice prints T although the sales tax feature is turned off
Cause: Issues within the invoice template
Solution 1: Creation of a new template
• To start, go to the Lists menu and pick Templates.
• Click New in the Templates box.
• After that, choose the type of template.
• Hit on Ok.
• Name the template, and then save the modifications.
Solution 2: Creation of a Duplicate Template
• Click on Lists.
• Choose Templates option.
• Under Templates, pick the invoice template to show.
• Now, go to the Templates menu and click on Duplicate.
• In the box labeled "Select Template Type," choose the "Invoice."
• After that, click "Ok."
Solution 3: Opting for the Default option
• Choose the "Lists" option.
• Then, go to Templates.
• In the Templates pane, double-click the Invoice template.
• Go to basic customization.
• Click on "Additional Customization."
• Choose the "Default" option and click on "OK."
Issue 2: Setting the Sales Tax Payable improperly in Write Checks
Solution: Review the Client Data
• First, the user create a Company File copy.
• Then, check the Bank Register to see how the payments were made.
• Here, find any sales tax payments that were entered erroneously.
• In the Vendors menu, choose the Sales Tax option.
• Click on the "Pay Sales Tax" option.
• If you have more than one account, use the Pay from Account option to choose the one to use.
• The checking account should have enough money in it to pay for the sales tax. If the user doesn't have enough money, they should choose an alternative account.
• After that, put the date of the sales tax payment in the Check Date field.
• Change the date under "Show sales tax due through" to the end of the payment period.
• The user should input the check number from the first payment into the Starting Check Number field.
• Then, in the column labeled "Pay," check the boxes next to the items to pay for.
• Now, choose the amount in the "Amount Paid" column and change it for any of the items needed.
• The total should be the same as what was paid at the beginning. Once that's been checked, click on Ok.
• Delete the initial payment transactions from QuickBooks.
• After that, Choose Chart of Accounts from the Lists tab.
• Type in the payment and double-click the bank account you've already saved.
• To change, scroll to the date you paid sales tax.
• Keep in mind that the entries should be near to each other because the dates on the original payment and the payment that was re-entered are the same.
• The payment will be put in again as a type called TAXPMT. Check the TAXPMT entry and then pick Record if the first payment has already been received and cleared by the bank.
• Make careful to modify the check numbers in the register to match the real check numbers if you pay sales tax to more than one tax agency and the checks weren't issued in sequence to begin with. To do this, click on the Number section, input the right check number, and then click on Record.
Categories
Read More
Premier Polyfilms Limited continues to drive innovation in the PVC artificial leather industry by offering durable and reliable material solutions for modern industrial applications. As a leading PVC leather manufacturer and PVC artificial leather supplier, the company focuses on delivering products that meet the growing demands of automotive, transportation, marine and commercial...

Today, with the level of competition higher than ever, companies must compete for attention and the opportunity to deliver their messages. One of the most efficient means of obtaining this is full colour printing services. From marketing materials and promotional products to signage and company stationery, colorful and professionally printed materials assist companies in...

Elevate Vehicle Protection with Premium Custom-Fit Car Covers High-performance vehicles are built to stand out. Their bold styling, aerodynamic design, and attention to detail make them more than just transportation; they represent a passion for automotive excellence. Whether your vehicle is parked in a garage or exposed to outdoor conditions, protecting its finish is essential to maintaining...

In today’s fashion world, the biker leather jacket is more than just outerwear—it is a cultural icon that represents freedom, attitude, and timeless masculinity. Originally designed for motorcycle riders to provide protection and durability on the road, it has now evolved into a global fashion statement that dominates both riding culture and streetwear style. The transformation of...
